Initial thoughts.
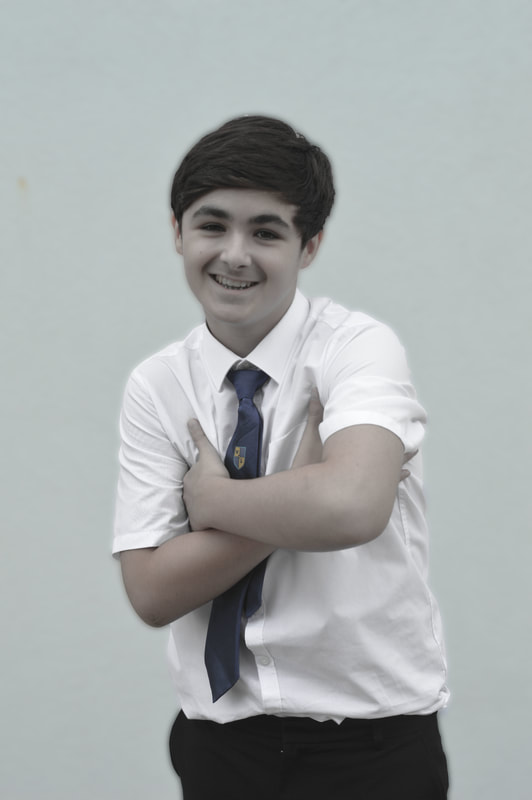
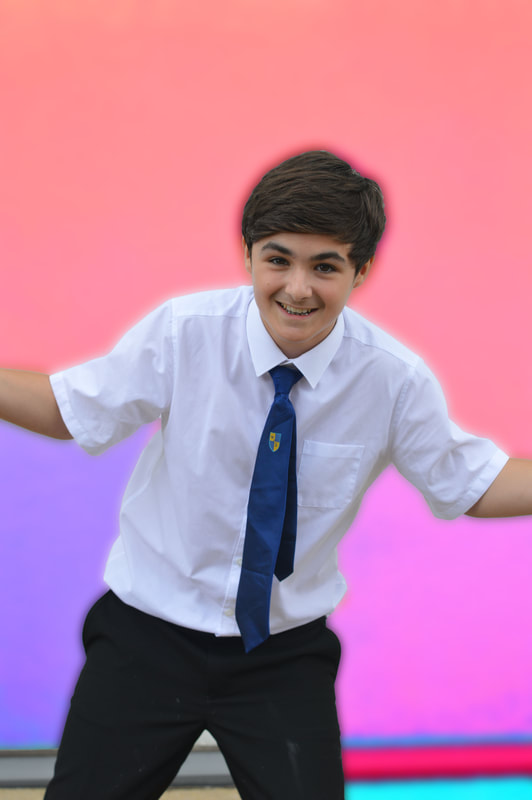
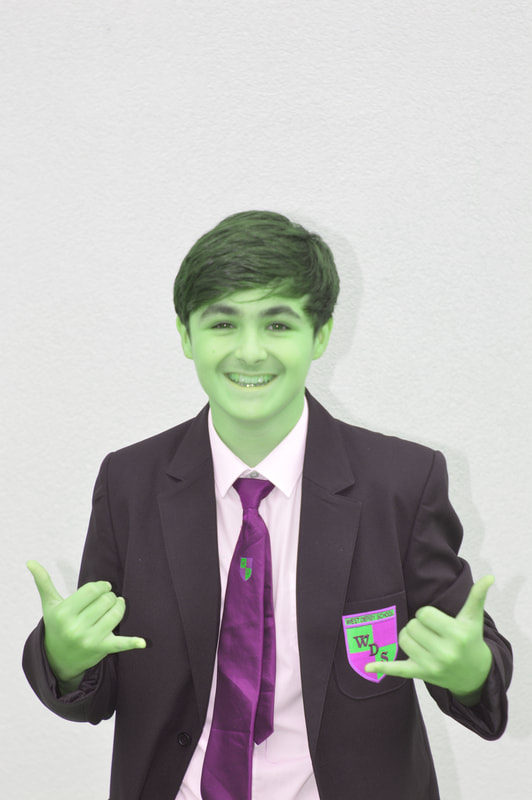
i believe that portraits can show a setting or even a mood of a location depending on what the facial expressions of the people are. The mood can also be set by the peoples clothing. For example if they are wearing suits, it can show a serious mood, or if they are wearing bright colours, it can show a fun or silly environment.
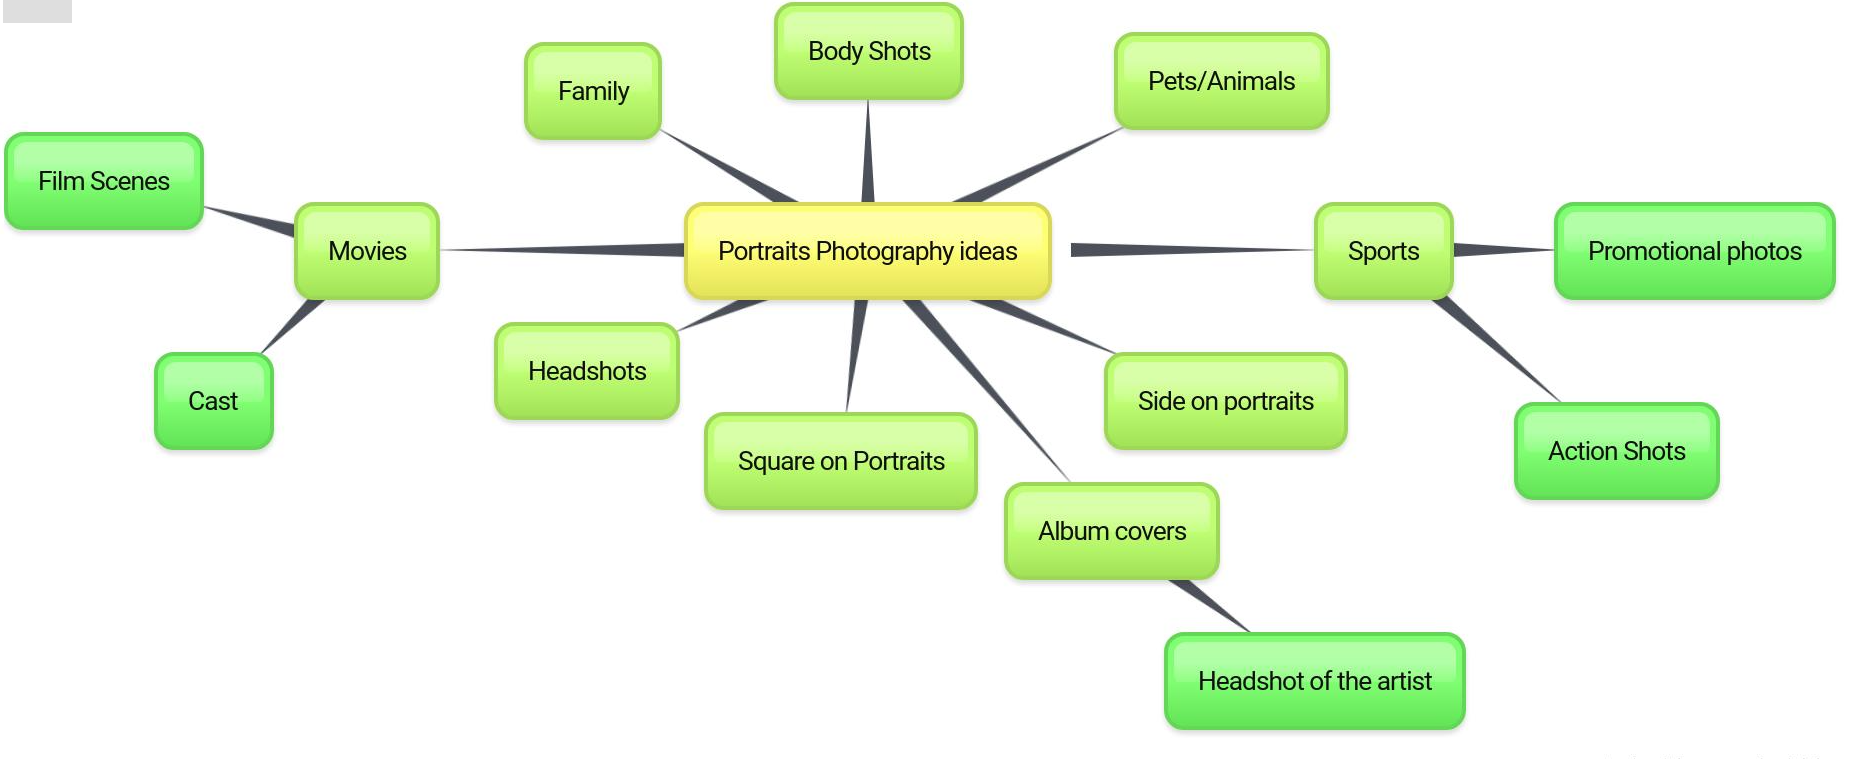
Initial Research


There are many different styles of portrait photos as shown in the examples above. They can be of just the head or they can show shoulders or body too. There are many different types of portraits, the can either be a photograph or a painting, they can even be a pencil drawing. These images also show that the images can be taken from a side view of the subject. These images also show a wide variation of colours from black and white to bright colour like pink, orange, green, yellow etc. Lighting is also a key part of it the shadows on one side of the face add an extra likability to the photo
Headshots


First Response
Black and white
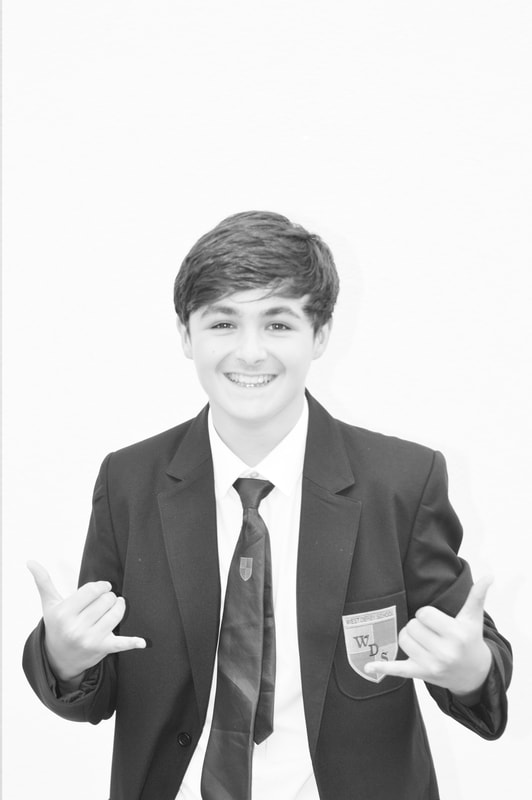
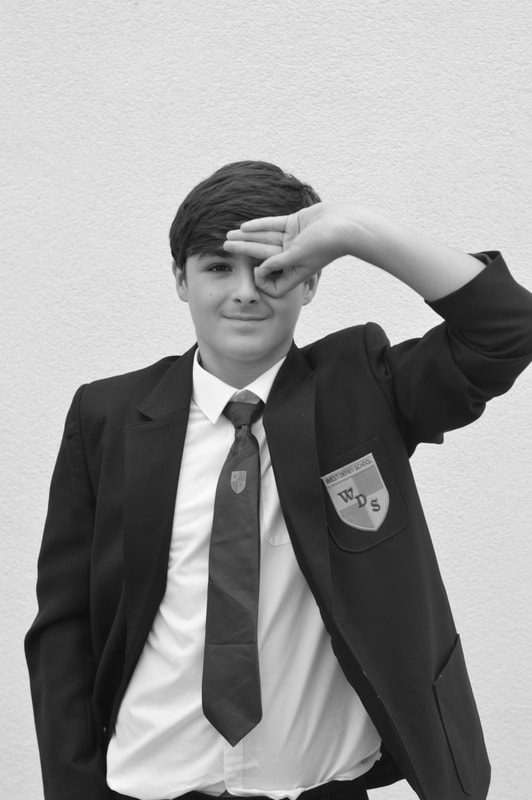
To create these images, all i did was when i was on photoshop, go into finger, then adjustments, then black and white
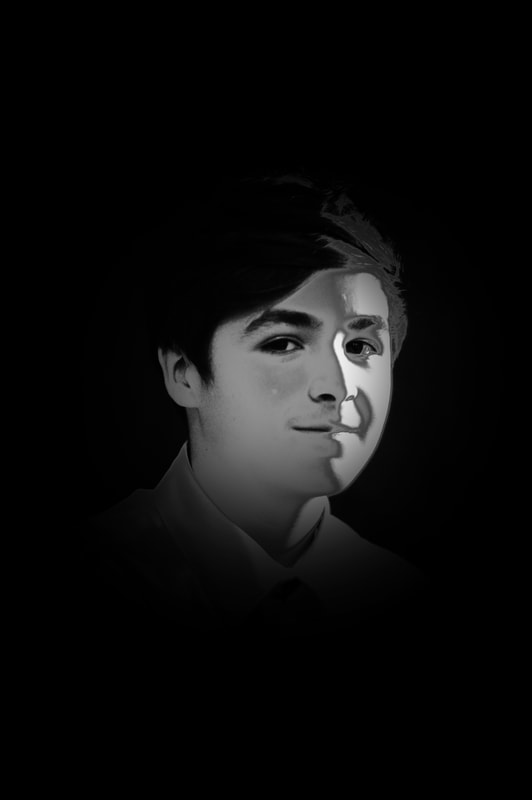
Low key lighting
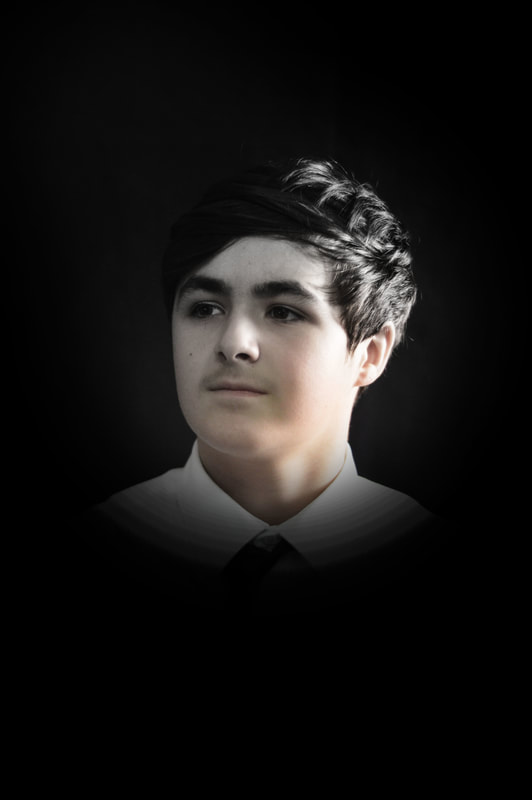
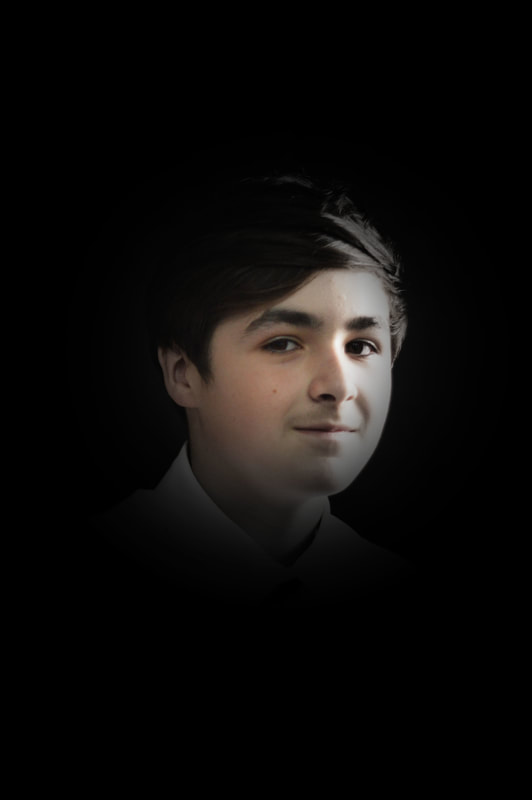
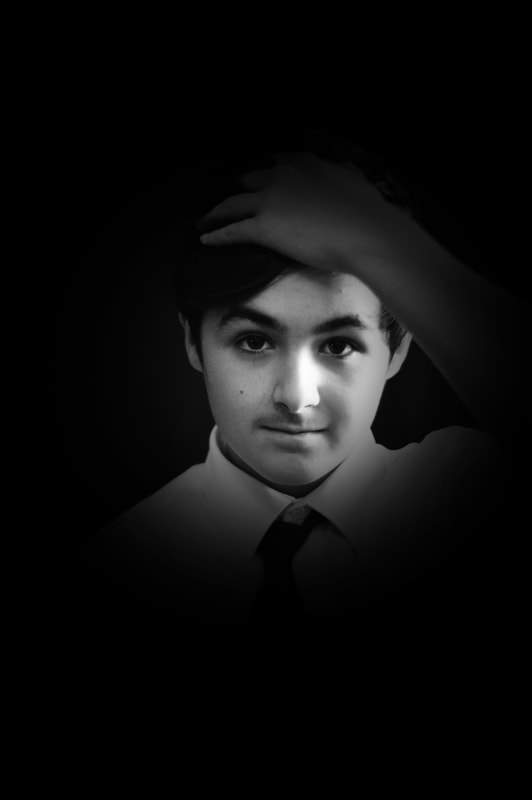
When taking our photographs, we set up a black background with a single light and took about 5 photographs each. For each photo, we had a different pose/position. Some looking at the camera, some looking off to the side, and others looking over our shoulder at the camera.
Experimenting in photoshop
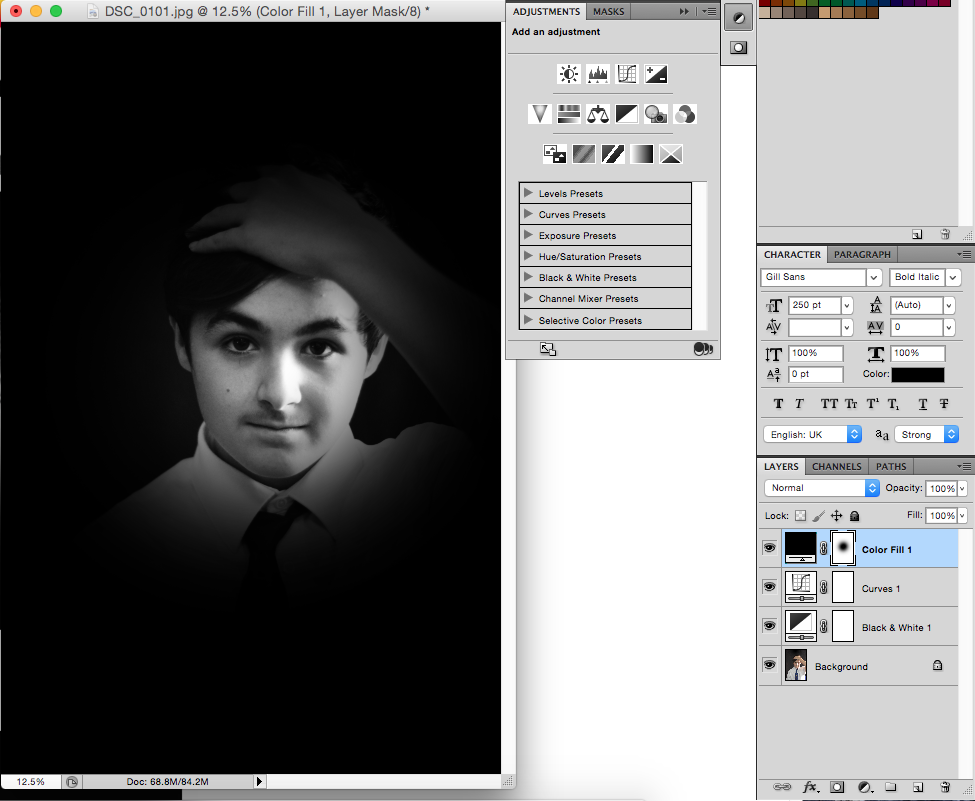
When creating these images we added a black and white layer over the initial image. I then adjusted the "curves" of the picture, this essentially changes the contrast between the blacks and whites in the image, making the blacks blacker (darker) and the whites whiter (lighter). The next step of creating the images was to add a solid colour over the image and make it fully black so that it suits the background and the black and white colour scheme for the future steps. The third step is using the brush tool on the image to reveal the images that lies beneath the solid colour that we hame just applied. Make sure that the brush is on the largest size and that the hardness of the brush is on 0% you also need to make sure that the brush colour is black. Finally, click on mask to select, then click on the black area once to reveal the image that lies beneath the colour, click around the image even more to reveal even more details. I could experiment with brush size, opacity and hardness.
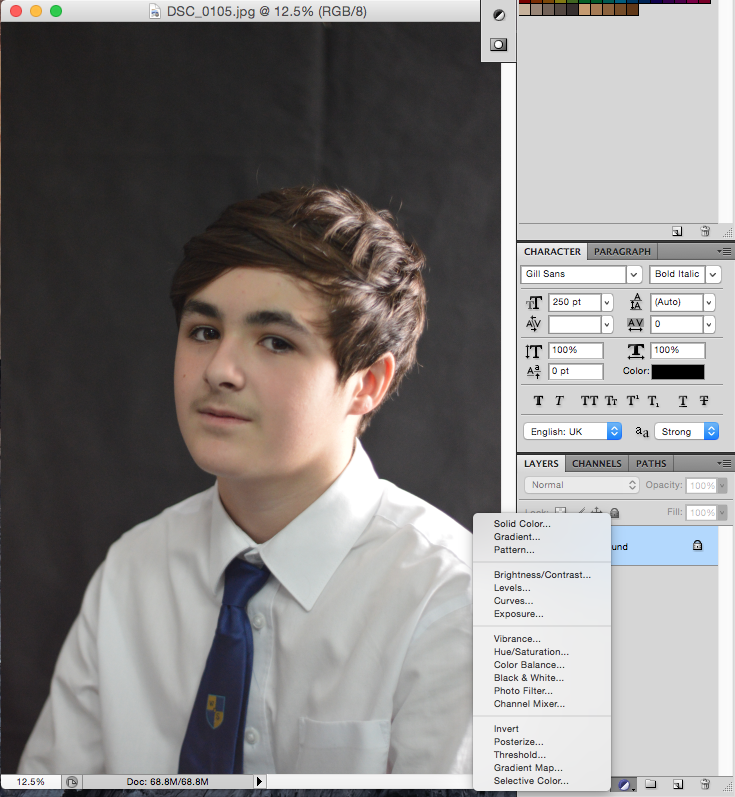
First, we add a black and white layer onto the photo. This gives the photo a more serious look
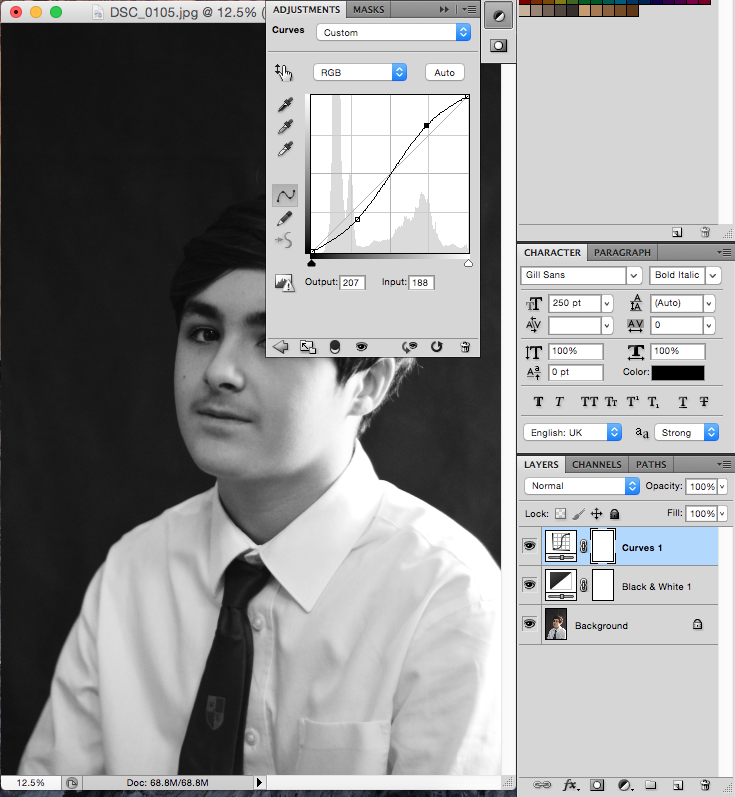
Next, we adjust the "curves". What this does is makes a bigger contrast between the blacks and whites, and makes the lighting look more severe
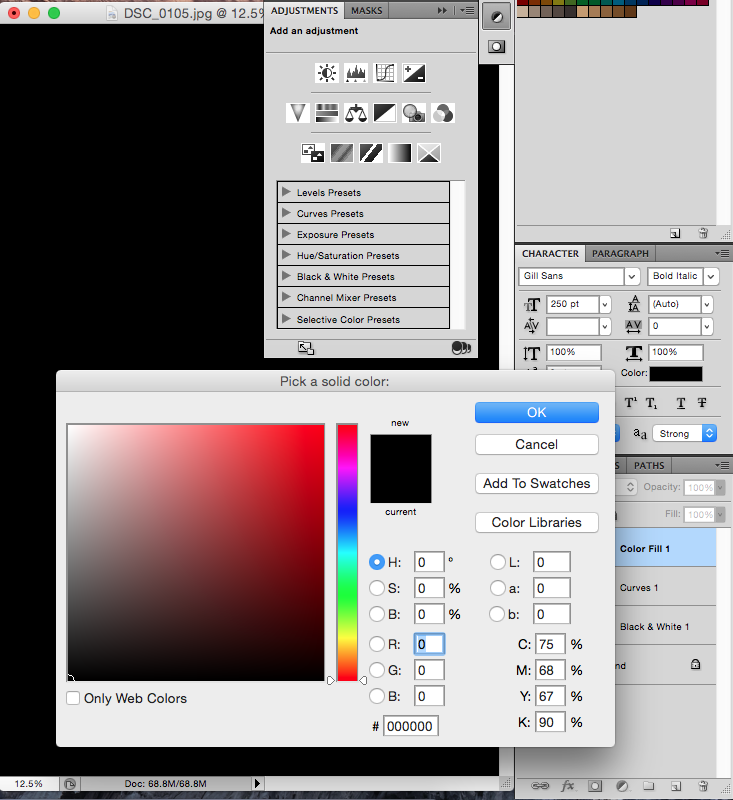
Then, add a solid colour to fill the whole picture, preferably black.

Then, select the brush tool and adjust the settings on the tool to the ones shown to the left here. The size slider dose as it says, it makes the brush size bigger. The hardness changes how solid the circle the brush makes will be. For example if the hardness is on 100%, the circles edges will be solid, however if the hardness is on 0% the edges will fade, the further you get into the circle, the more clear the image becomes.
Experimental Photos